Introduction
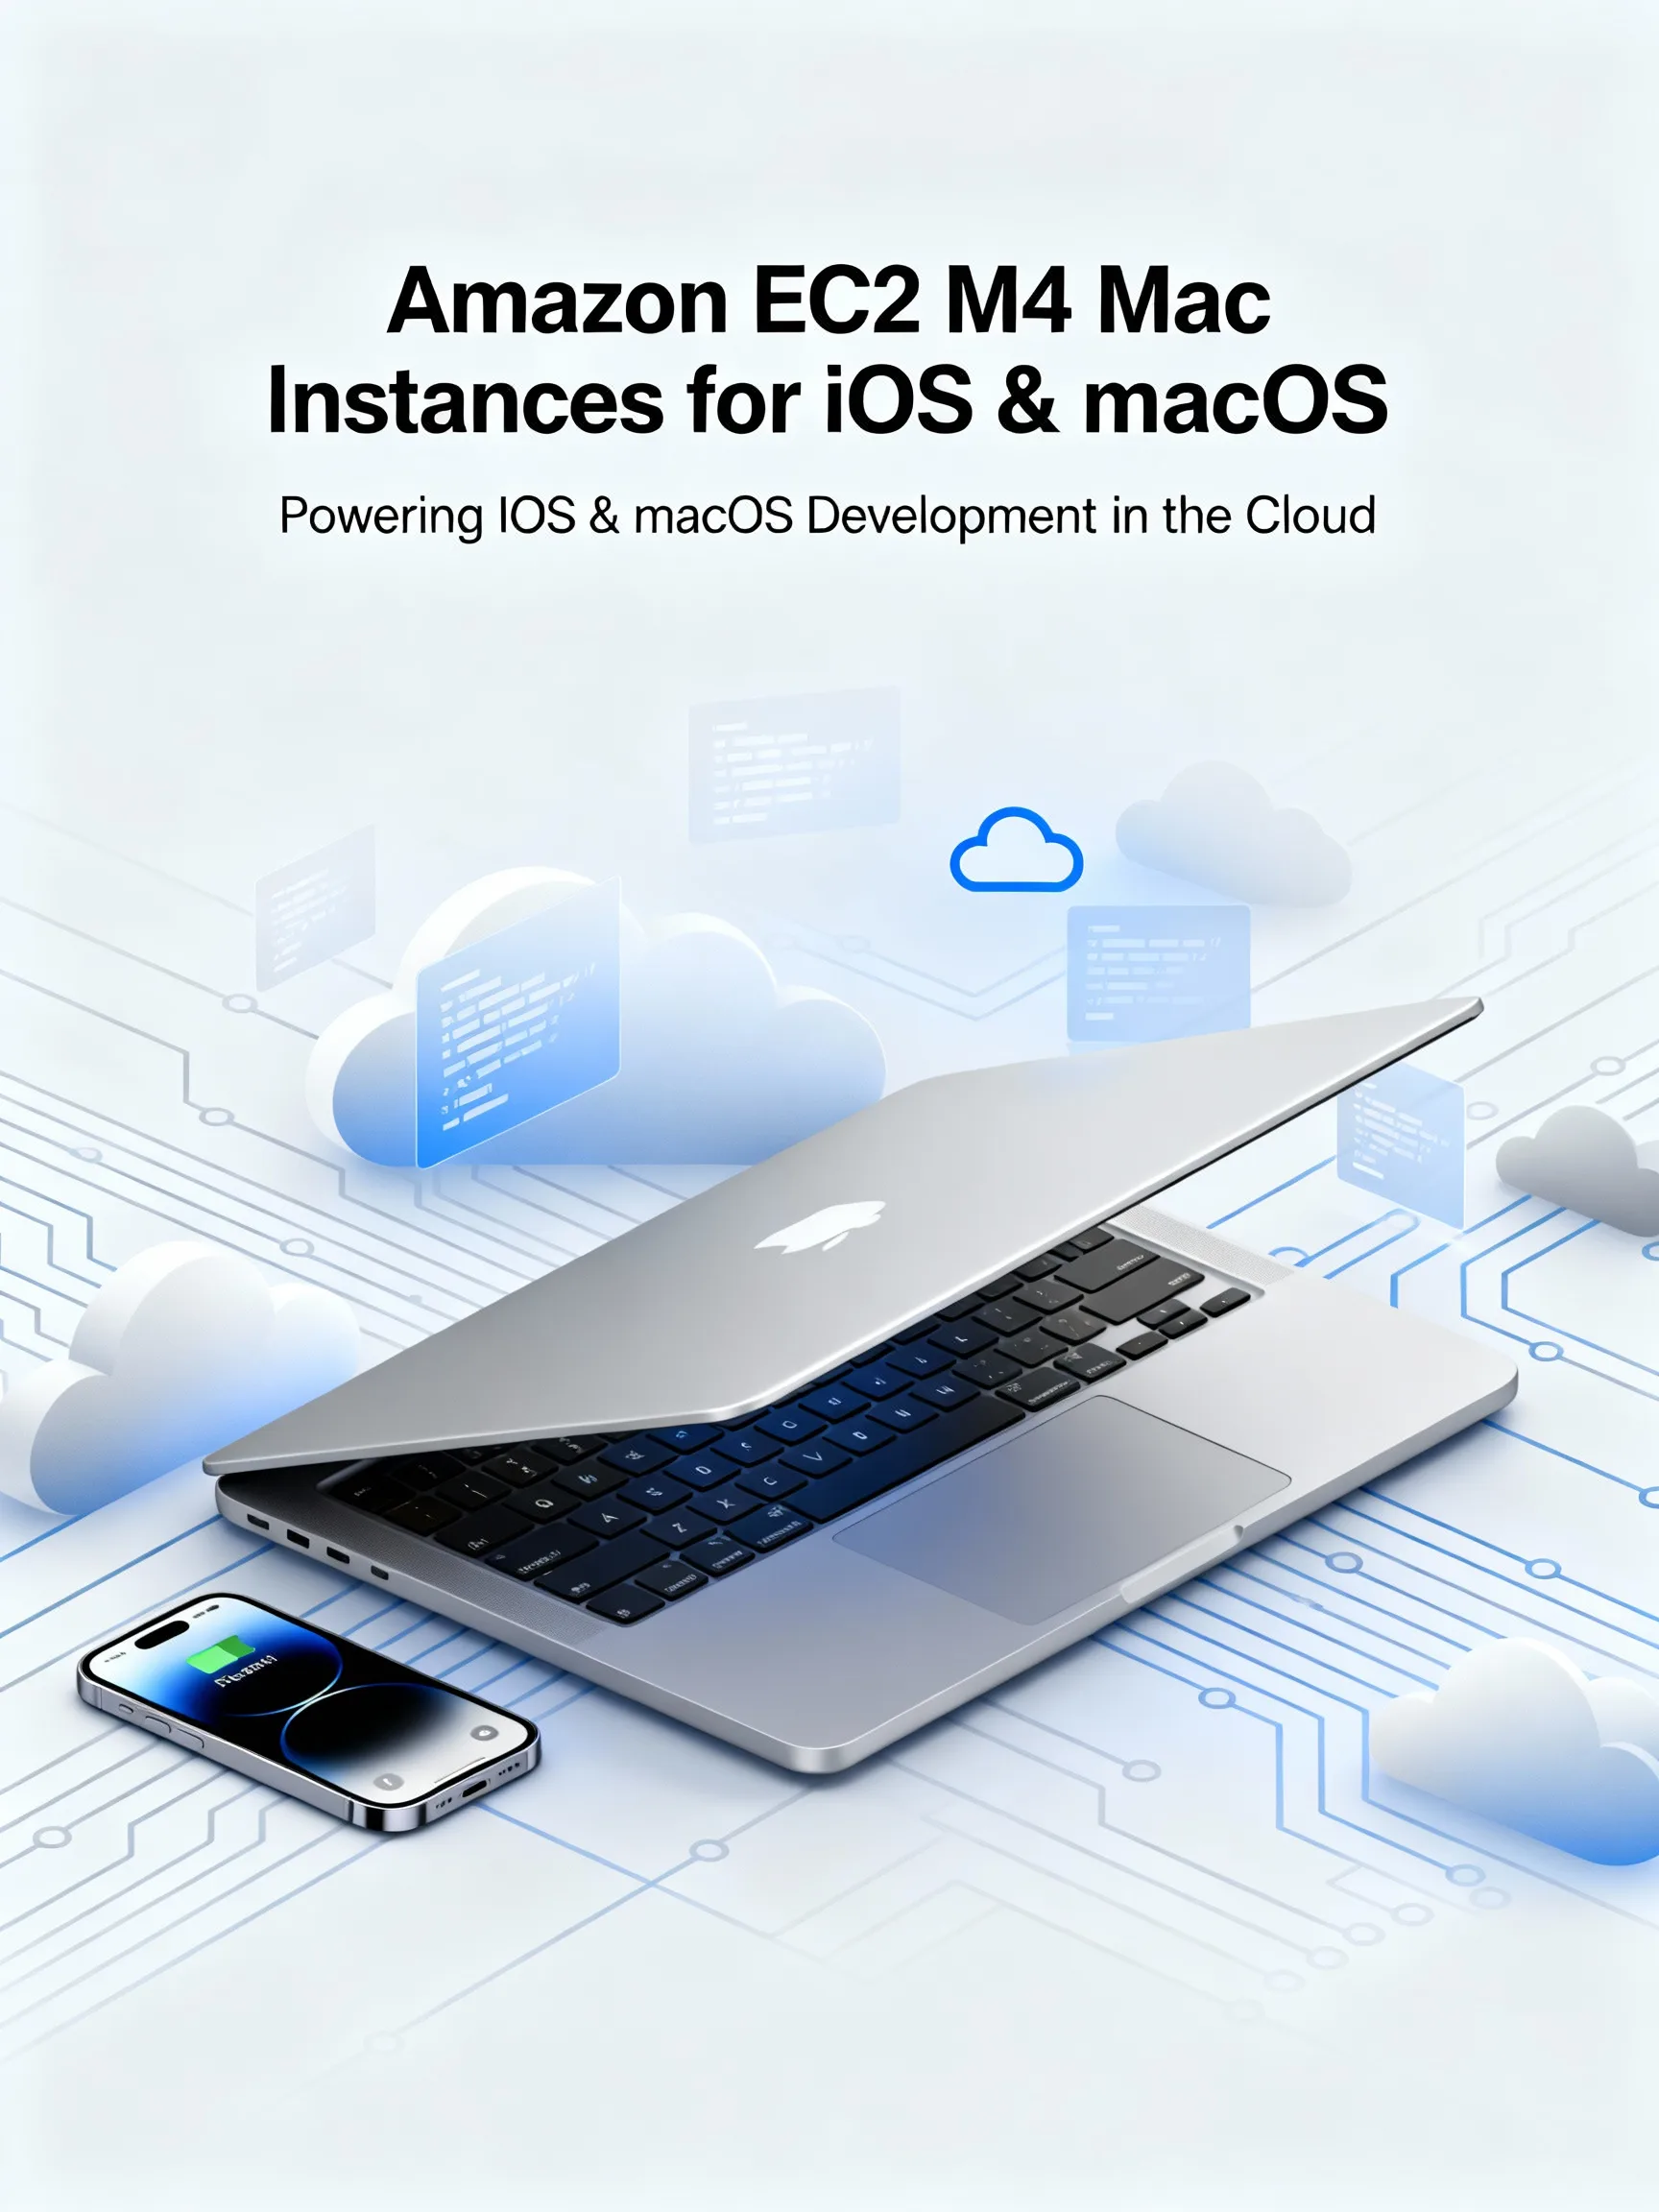
The Amazon EC2 M4 Mac instances bring new capacity and performance options for iOS and macOS developers who need cloud-hosted macOS build hosts. This post explains what the M4 and M4 Pro Mac instances offer in practice, how to get started, CI/CD patterns, and migration tips so teams can evaluate and adopt them quickly and securely.
Overview of M4 and M4 Pro Mac instances
The new Amazon EC2 M4 Mac instances target macOS build farms and interactive development workflows that require low-latency access to Apple hardware. Key attributes to consider include dedicated host tenancy, compatibility with macOS AMIs, and integration with existing AWS tooling. For many teams this translates to faster iOS compile times, parallelized simulator runs, and better density for on-demand or reserved macOS build capacity.
Performance characteristics and cost considerations
Performance improvements on M4 and M4 Pro typically show up in CPU-bound Xcode builds, simulator concurrency, and parallel unit/integration tests. When evaluating cost and performance:
- Measure build times for representative projects: compare single-build and parallel matrix scenarios to determine the sweet spot for instance count versus build duration.
- Account for the dedicated host model: macOS builds require dedicated tenancy and historically have a minimum billing period (for example, 24-hour minimum). Plan provisioning and scaling strategies accordingly to avoid wasted hours.
- Use spot or savings plan options where supported for non-critical load, but validate interruption behavior for long-running notarization or archive tasks.
Example scenario: if a team reduces average build time from 25 to 12 minutes by using M4 Pro and running two concurrent runners, effective throughput and developer feedback loops improve substantially—translate that into cost per build to compare against current on-prem hardware refresh cycles.
Getting started with practical setup
Follow these pragmatic steps to provision a macOS CI host on M4 instances:
- Choose a macOS AMI or build a base image: start from an official or vetted macOS image and install Xcode, command-line tools, Homebrew, and any SDKs. Create an AMI for rapid scaling.
- Provision a dedicated host and launch instances: use the AWS Console or CLI with placeholders such as aws ec2 run-instances –image-id <macos-ami> –instance-type <m4-mac-type> –key-name <key> –subnet-id <subnet>. Remember to request capacity and verify tenancy constraints before automating scale-outs.
- Secure access and secrets: create an SSH key pair, restrict security group rules, and store Apple credentials and signing keys in AWS Secrets Manager or HashiCorp Vault. Avoid embedding credentials in AMIs or scripts.
- Install build agents and runners: configure self-hosted GitHub Actions runners, GitLab runners, or Jenkins agents. For example, install the GitHub runner binary on the macOS host and register it to your repo or organization, then configure labels like mac-m4-pro to target builds to this hardware.
Tip: automate image baking using EC2 Image Builder or Packer and keep a golden AMI with preinstalled Xcode and CI tooling to reduce boot time and ensure consistency.
CI/CD integration and real-world examples
Integrating M4 Mac instances into CI/CD pipelines unlocks parallelization and deterministic macOS environments. Practical patterns include:
- Self-hosted runner pools: maintain a small pool for pull-request builds and scale out for nightly matrix builds. Use auto-registration scripts in the AMI so new instances join the runner pool automatically.
- Artifact and cache strategies: configure shared build caches (XCBuild build cache, CocoaPods caches, SPM caches) backed by S3 or EFS-equivalent patterns. Caching can reduce repeated dependency resolution times dramatically.
- Notarization and signing: protect certificates in Secrets Manager and perform code signing with short-lived tokens or temporary key material. Use a dedicated pipeline step for notarization to keep sensitive operations isolated.
Example: a release pipeline might run unit tests on smaller M4 instances, offload UI tests to M4 Pro with multiple simulator instances, then perform code signing and notarization on a reserved host to ensure certificate availability and avoid transient failures.
Best practices and migration tips
To migrate from on-prem Mac hardware or older EC2 Mac generations, follow these tips:
- Benchmark first: compare common build jobs on a sample repository to quantify speed-ups and cost trade-offs before full migration.
- Design for ephemeral hosts: use immutable AMIs and treat instances as cattle. Keep secrets externalized and ephemeral instance boot scripts idempotent.
- Implement graceful scale and shutdown: given host-tenancy billing constraints, schedule non-critical tasks to avoid hourly charge overlap. Consider reserved capacity for baseline CI traffic and burst to on-demand for spikes.
- Security and compliance: enable FileVault if required, keep macOS and Xcode updated in controlled windows, and audit access via CloudTrail and centralized logging.
Also plan for macOS licensing nuances and Apple Developer requirements: maintain a registered Apple Developer account, ensure code-signing certificates are rotated and stored securely, and validate notarization steps as part of pipeline gating.
Conclusion
The arrival of Amazon EC2 M4 Mac instances and M4 Pro provides a clear path to modernize macOS and iOS build infrastructure with cloud-native practices. By benchmarking performance, automating AMI creation, securing credentials, and integrating with CI/CD runners, teams can shorten feedback loops and scale builds without managing physical machines. Start with a pilot for representative projects, measure cost per build, and iterate toward a resilient macOS build farm that meets developer velocity and security needs.


Leave a Reply